Tutorial about creating Custom Styles in GMX-PhotoPainter
What it a Style?
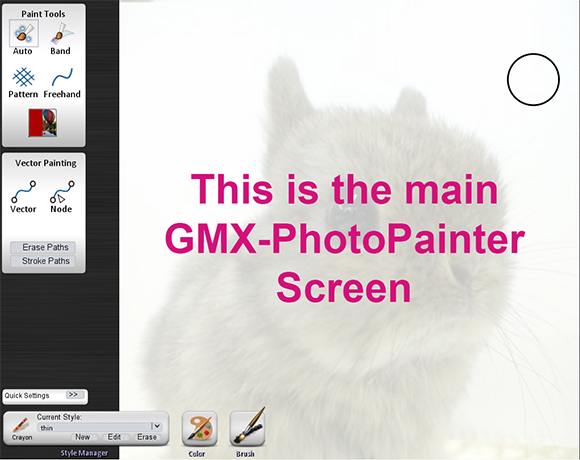
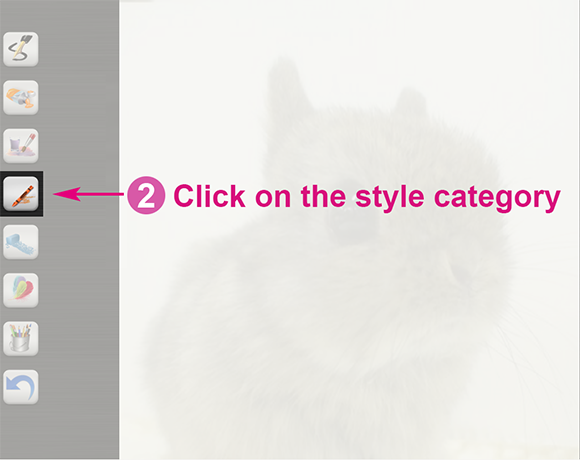
As in the real world, GMX-PhotoPainter paintings are composed of many overlapped brushstrokes. Each brushstroke has it’s associated style which defines how it will look. A GMX painting does not have to use the same style on the whole picture, you can start by painting some brushstrokes with a desired style, and then switch to a different style when it’s required. There are a number of predefined styles, that can be directly accessed by clicking on the Style icon:

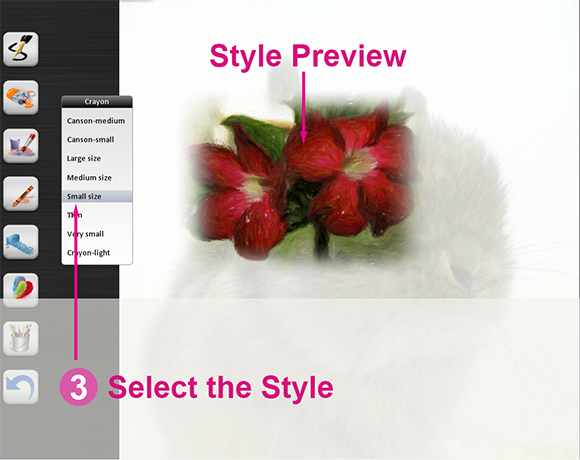
While GMX provides you a variety of predefined styles, the real power of GMX comes when you define your own styles. There are a lot of properties that a style have , each of which can be modified. This guide will help you learn how to create a style and how to choose the right parameters for it.
Types of Styles
You can skip this section and jump directly to the Create a Basic Style Mini
Tutorial.
In GMX-PhotoPainter there are three different kinds of Styles:
Bitmap Brush Style
Each brushstroke consists in a image deformed along a path, each one is drawn using the selected color mode. This style is commonly used by many predefined styles.
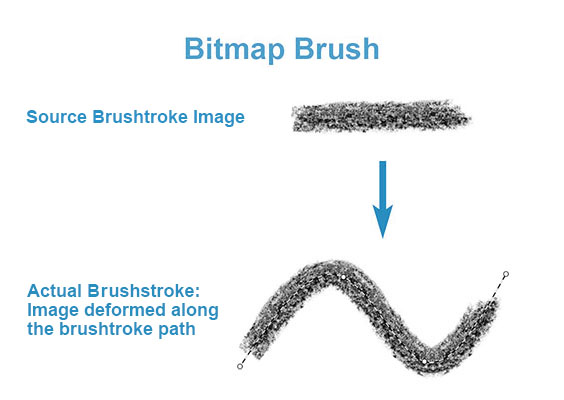
The Bitmap Brush Style has the following characteristics and features:
- The source brushstroke image is deformed along the path.
- The larger the brush, the less detail the drawing has.
- There are a number of properties that can be modified:
- You can modify its Brush.
- Size: Width and Length
- Transparency.
- Color
Modes: The three Color Modes can work in combination with Bitmap Brush Style. - Texture: Texture is an option that currently it’s only supported by the Bitmap Brush Style.
- 3D Look.
- You can modify its Brush.
By looking at the Style
Options Availability Table you can check that almost all Style options are available for the Bitmap Brush Style.
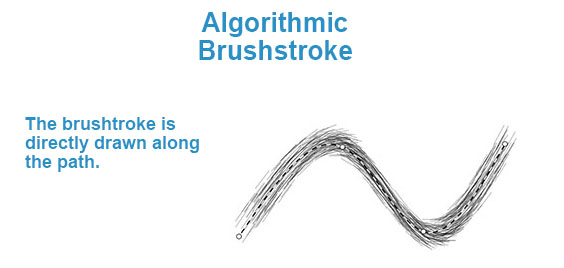
Bristle Brush Style (Algorithmic Brush)
The Bristle Brush Style does not use an image, instead the brushstroke is composed of many small and fine lines or dots of a similar color.
There are four kinds of different Bristle Brushes:
- Dots: The stroke is composed by many points. The result resembles to pointillism painting style.
- Short segments: The stroke is composed of many short segments that follow the path drawn by the pointing device.
- Long lines : The stroke is composed of a series of parallels lines that follow the path drawn by the pointing device.
- Pompom: Each brushstroke is made of “pompoms”. A pompom is series of radial short segments.
- Dashed lines: The stroke is composed of a series of parallels dashed lines that follow the path drawn by the pointing device. To modify the length of each short segment you have to change the length of the brushstroke.
Bristle Brush: Dots
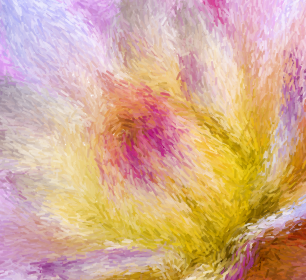
Bristle Brush: Short threads
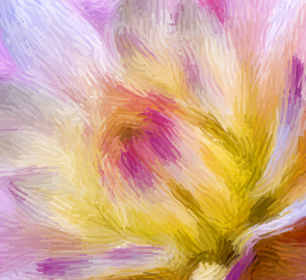
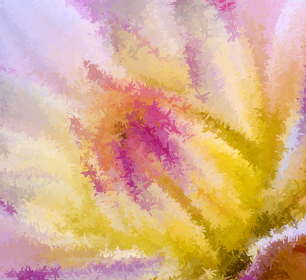
Bristle Brush: Large threads

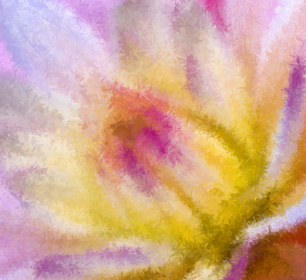
Bristle Brush: Large threads (thin lines)
Pompom Style: (thick lines)
Pompom Style: (thin lines)
Note that decreasing the with of the lines, (figures 4 and 6) results in more soften paintings.
Also to obtain softer results you can decrease the “Alpha” parameter.
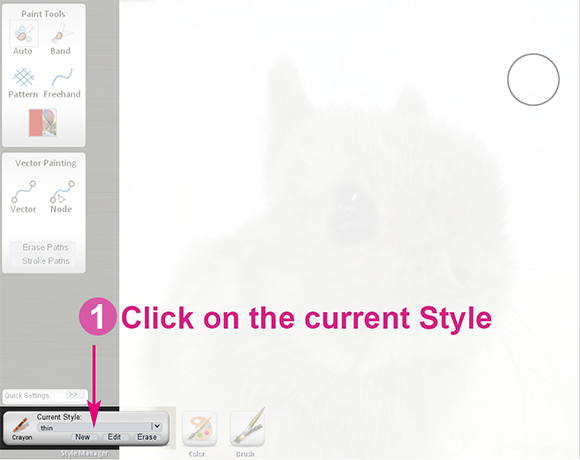
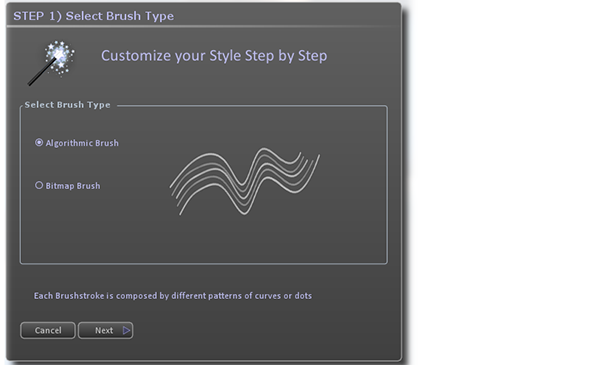
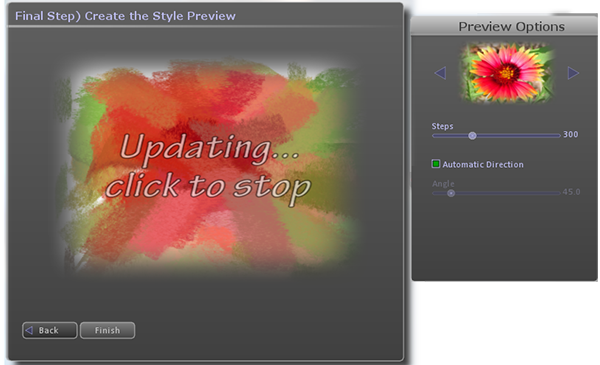
How to create a new Style
In the style bar at the bottom left click on the button “New”:

GMX-PhotoPainter will ask the name for the new style:


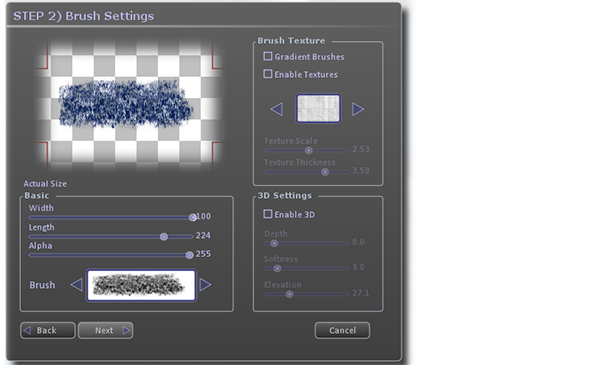
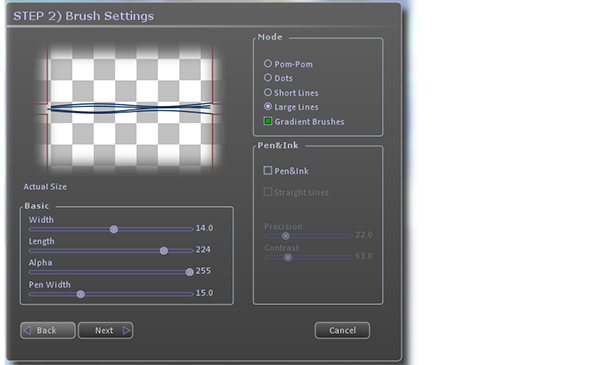
- Now you have to choose between “Algorithmic Brush” or “Bitmap Brush”:
- If you chose “Bitmap Brush” you will see Bitmap Brush Settings Screen:
- If you chose “Algorithmic Brush” you will see Bristle Brush Settings Screen:
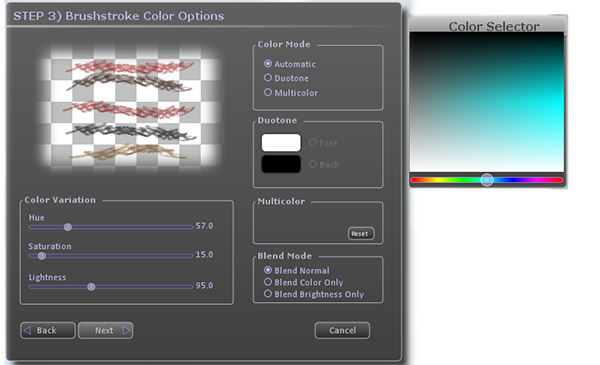
- The following screen will be color settings:
- Final Screen:
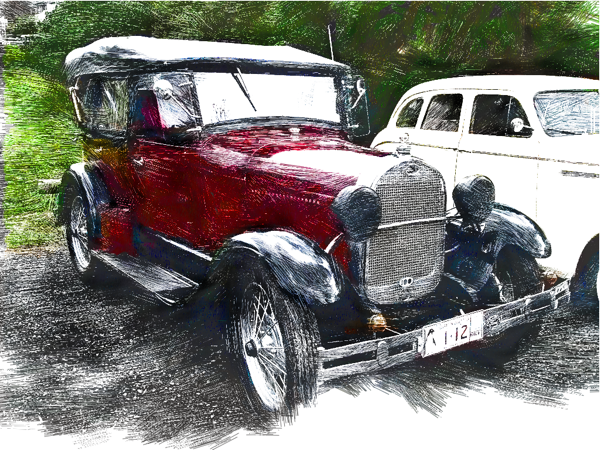
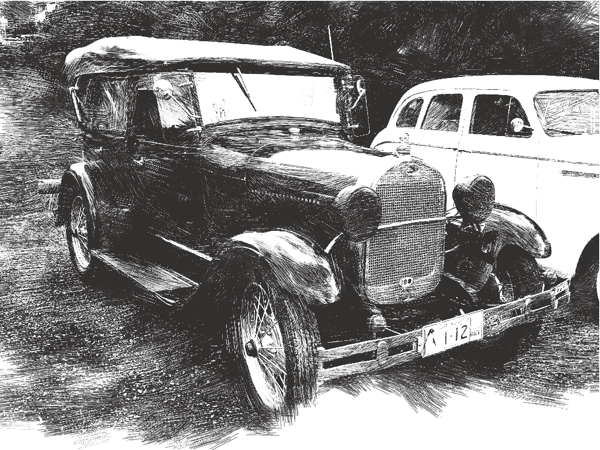
Pen and Ink Style
The Pen and Ink Brush Style it’s fully covered in the Pen and Ink Tutorial. However it’s adequate to point out here some differences and similarities with the Bitmap Brushes:
- The Pen&Ink style is a submode of “bristle brushes”, thus, Pen&Ink style supports the painting options supported by “Bristle Brush”.
- Unlike the Bitmap Brush Style, the Pen and Ink Style does not need to use small brushstrokes to give detail to the painting.
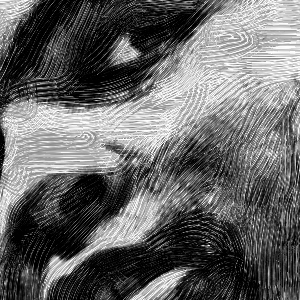
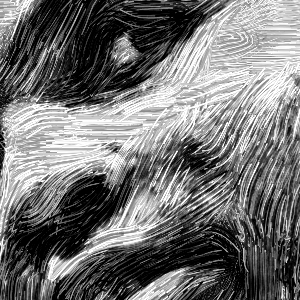
- To obtain softer and more detailed results in the Pen&Ink style, it’s convenient to not choose very thick lines. For example the following images was created with “Pen width” 10 and 20 respectively.
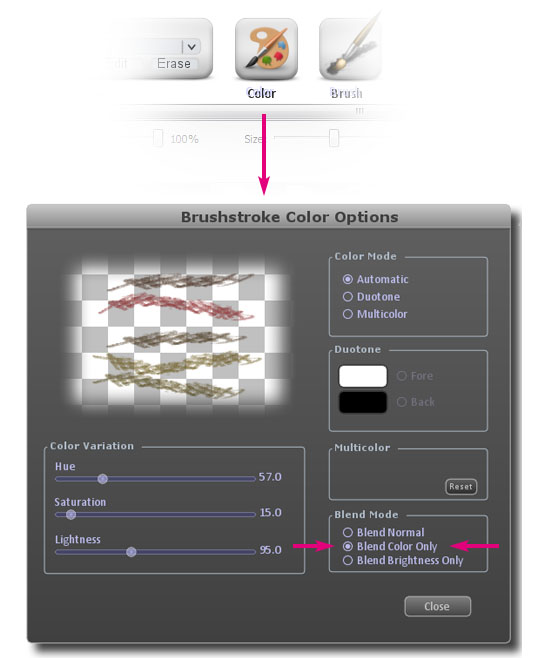
Blending Modes
This option let you overlap the color over a painting done in black and white, or vice versa, you can paint the black and white details over a color image.
The following example will show this feature:
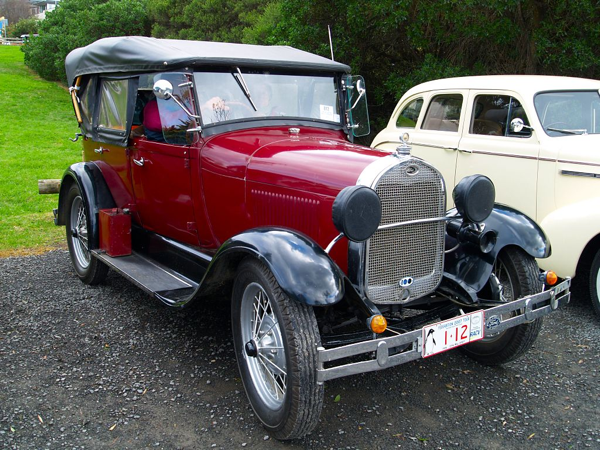
Original Photo:
Now, this photo painted in Pen&Ink Style:
Now the last step, choose some style, and then, modify it by opening the Color Window, and then choose the Blend Mode “Color Only”:
This is the final result: